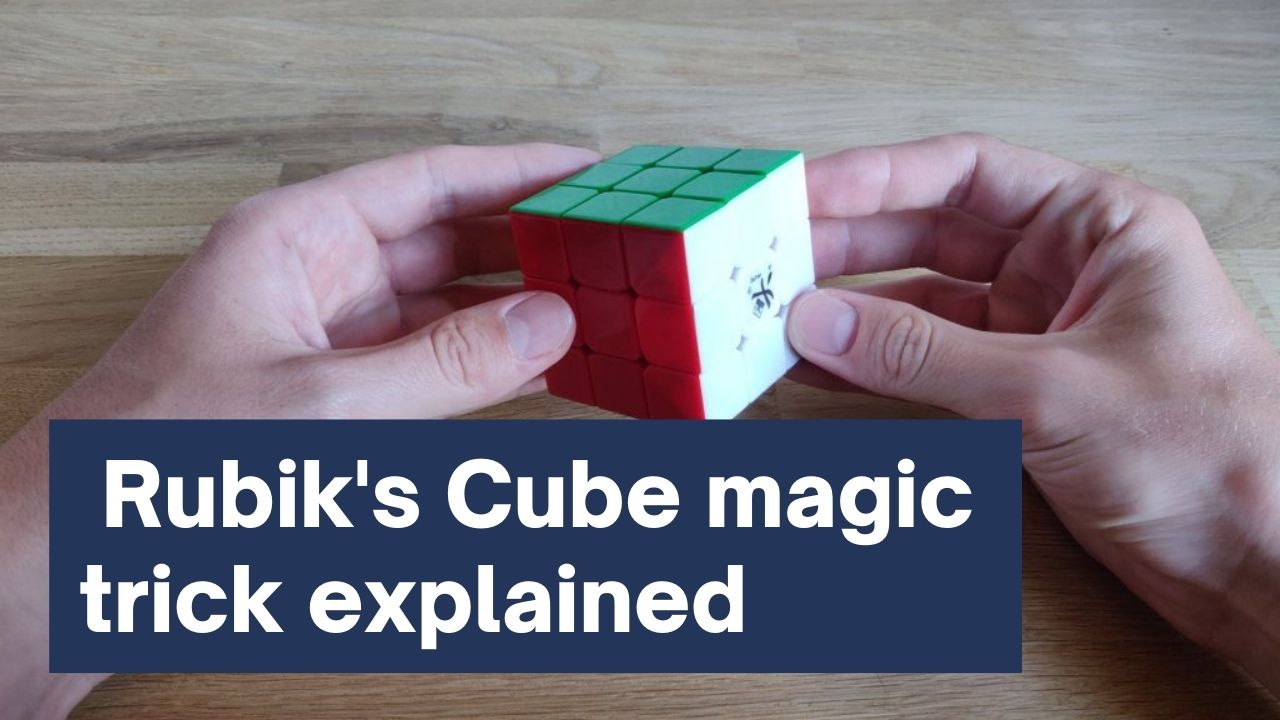
In this tutorial, you will learn how to solve a Rubik’s Cube in just a few seconds. Keep in mind that it’s simply a trick and you need a solved cube to get started!
Here’s a very short explanation of the trick:
You scramble the cube in a certain pattern before the performance, so that you can unscramble it really fast with a few moves. While this might sound very simple, it can be an amazing illusion when performed properly.
Let’s get started.
How to perform the illusion: Solve the cube in a few seconds
How the trick is done: The magician shows a completely scrambled Rubik’s Cube from all six sides. With a few quick hand movements, he solves the Rubik’s Cube in front of the audience in a few seconds.
Preparation: The Rubik’s Cube must be scrambled in a certain order.
What you need: a Rubik’s Cube
First, you need a completely solved Rubik’s Cube, which you scramble six times with the same movement. This is enough to give the audience the impression that the cube is completely scrambled.
To then solve the Rubik’s Cube in front of the spectators, you simply have to repeat these movements in reverse. You will only need your index finger for these turns and you can do everything with one hand.
Keep in mind that you should be able to turn the cube easily with only one finger.
The preparation: Scrambling the Rubik’s Cube
This entire preparation should be done before performing the trick. If you do it in front of your audience, they will reveal the secrets behind this illusion pretty fast!
How to scramble the cube
Hold the Rubik’s Cube with the green side on top, the white side on the right, and the red side facing you. Then scramble it like this:
- Rotate the right side of the cube down once (towards you).
- Rotate the whole cube once to the left.
- Repeat these two steps six times.
I’ve created this illustrated step-by-step guide, so just follow along and you can perform this trick in no time.
I took a photo for every single move, so this tutorial is easy to follow. It might take some time for the images to load, so just wait a moment until they are there!
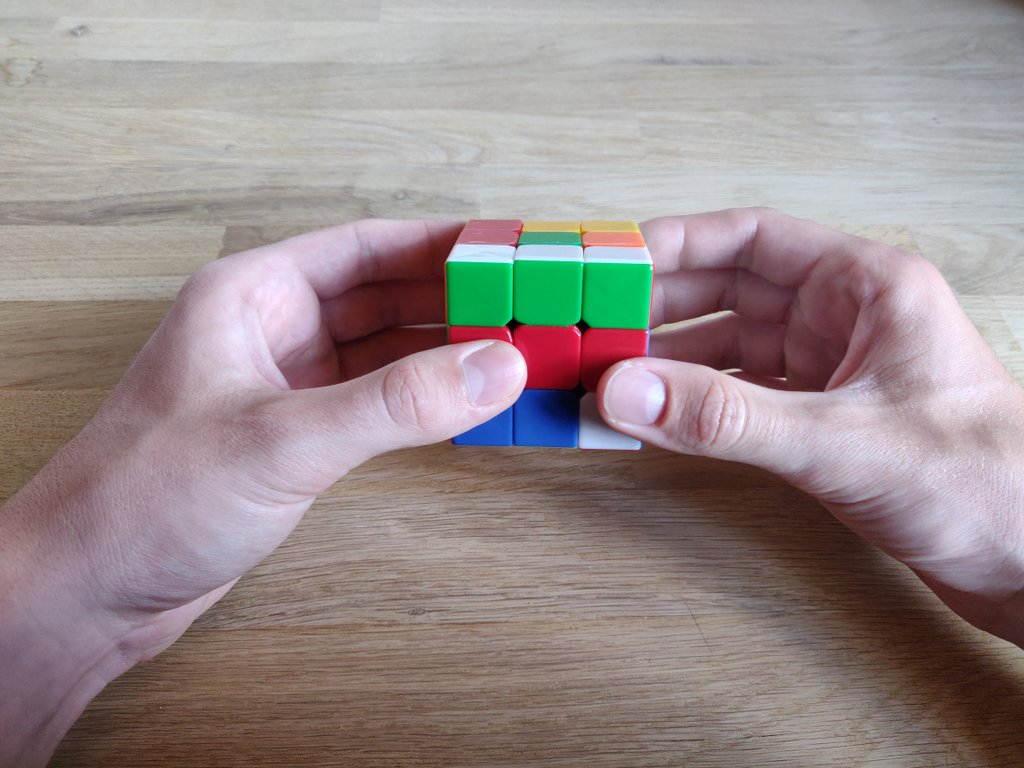
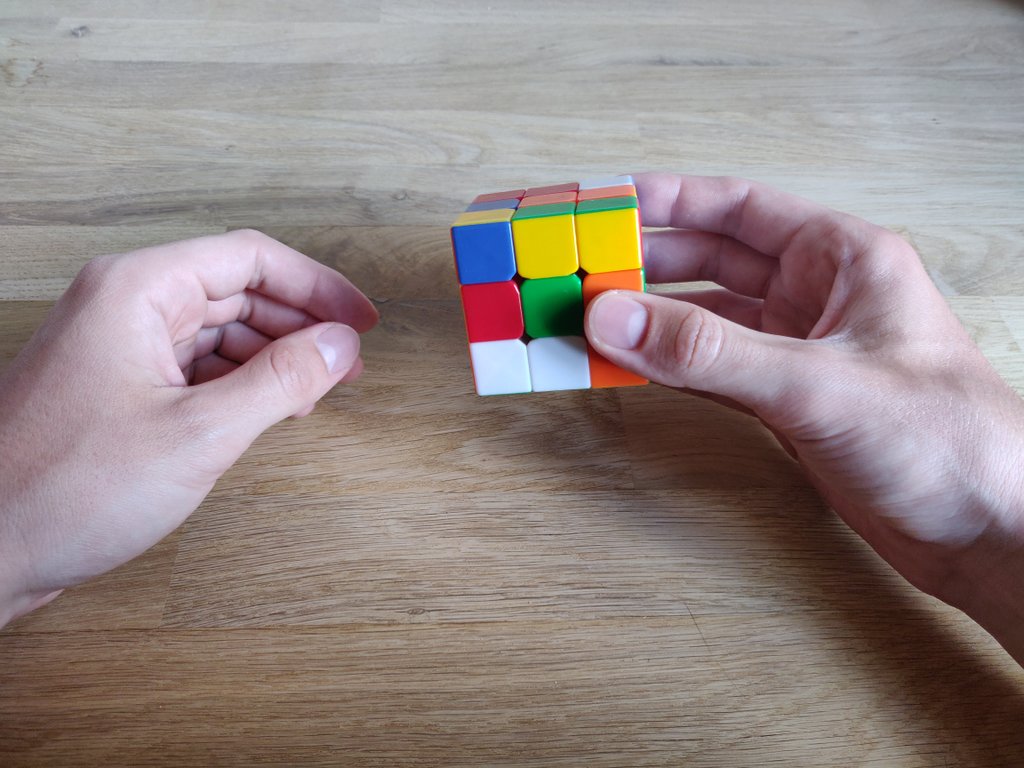
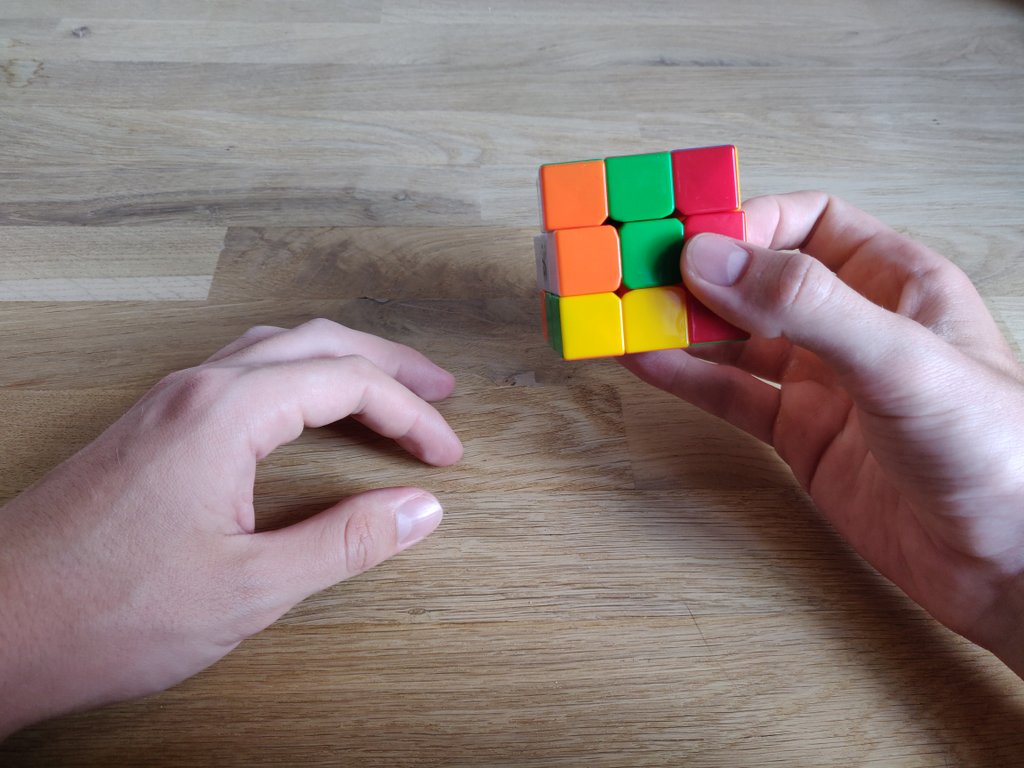
Hold the Rubik’s Cube as shown: green side on top, the white side on the right, and the red side facing you.
Turn the right layer (white) down towards you.
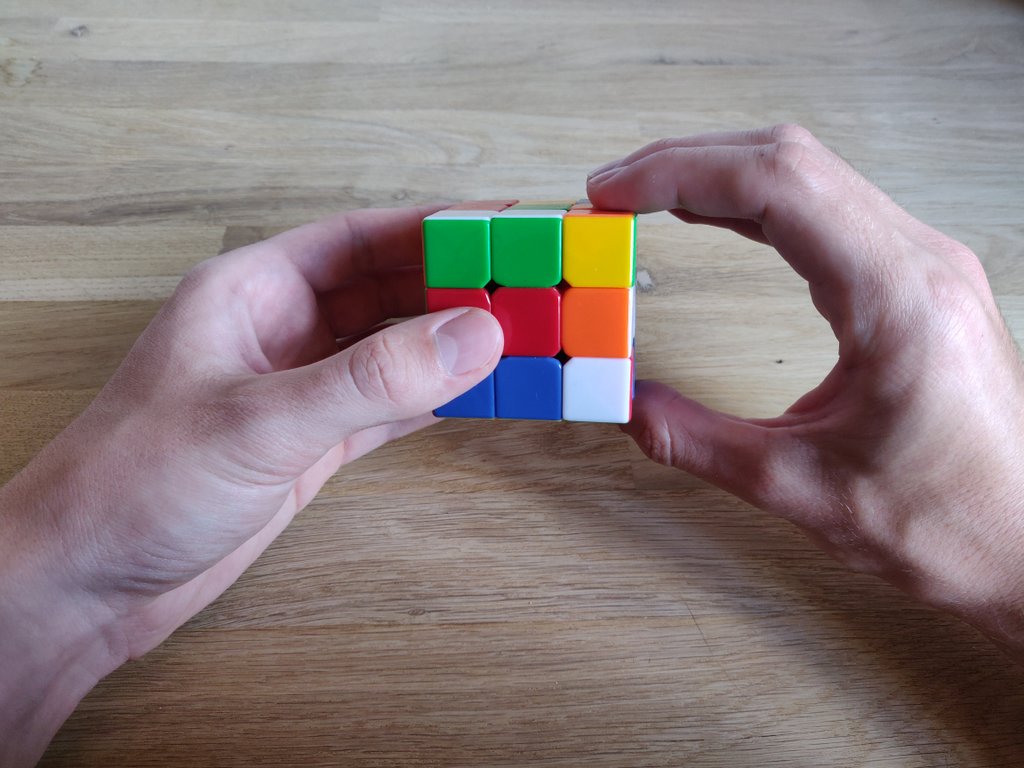
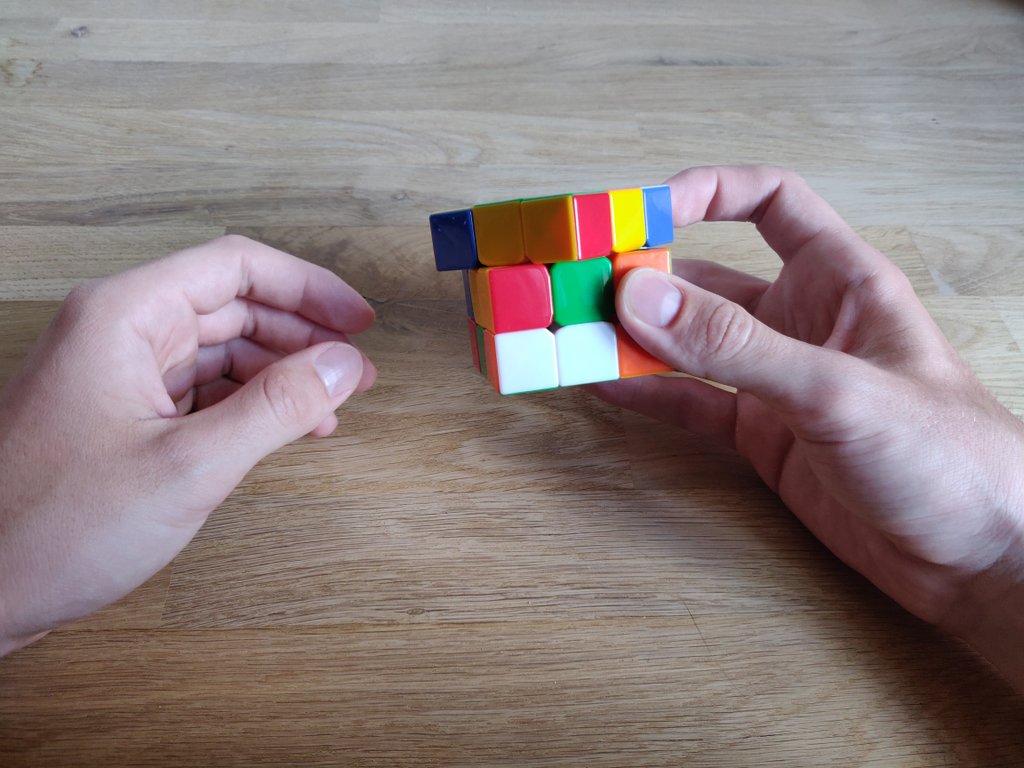
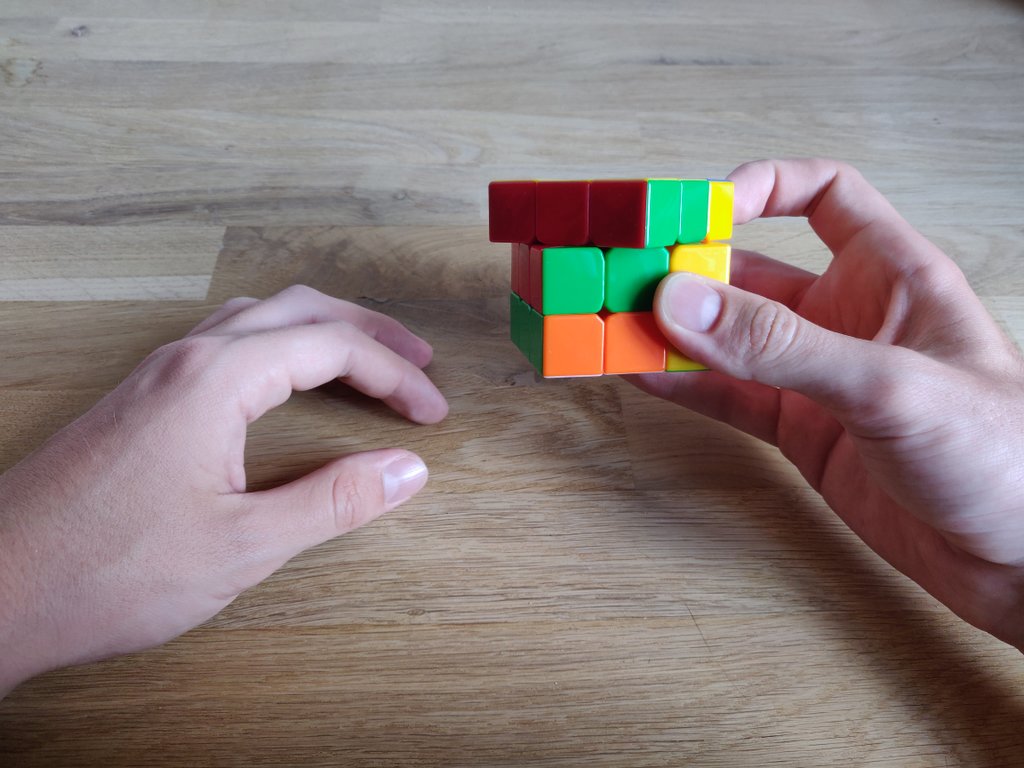
This is how the cube looks after the first move:
Turn the cube to the left, around its own axis, so that you are now looking at the white layer, with the green side on top.

Repeat the same move as you did at the start: Turn the right layer (orange) down, towards you.
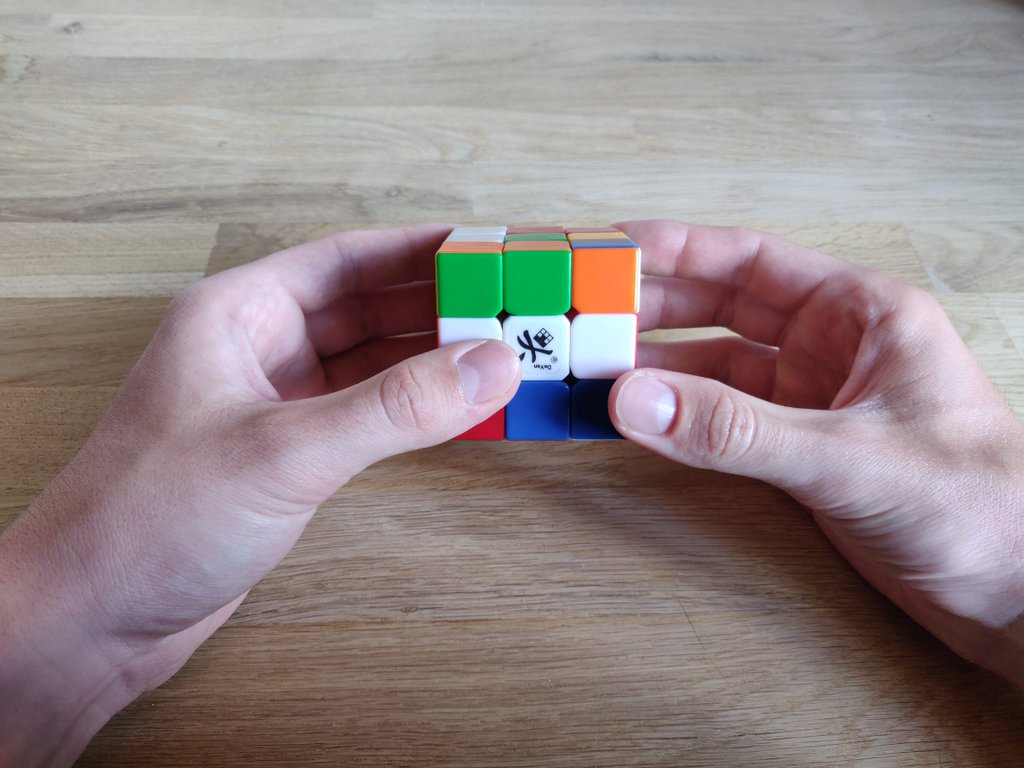
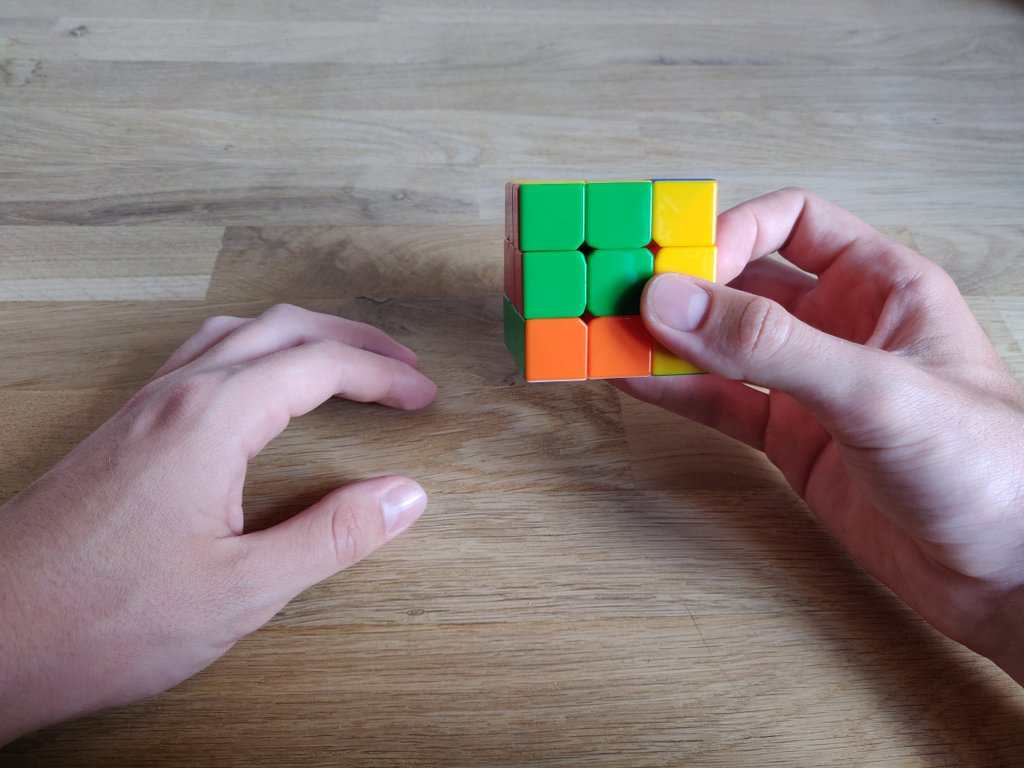
This is how the cube should look after your second move:
Again, rotate the cube around its own axis to the left. You should now look at the orange layer, with the green layer on top.

Rotate right layer of the cube down, towards you.
You can use the images to follow along and keep checking if you are still doing it right. Simply repeat the exact same move!
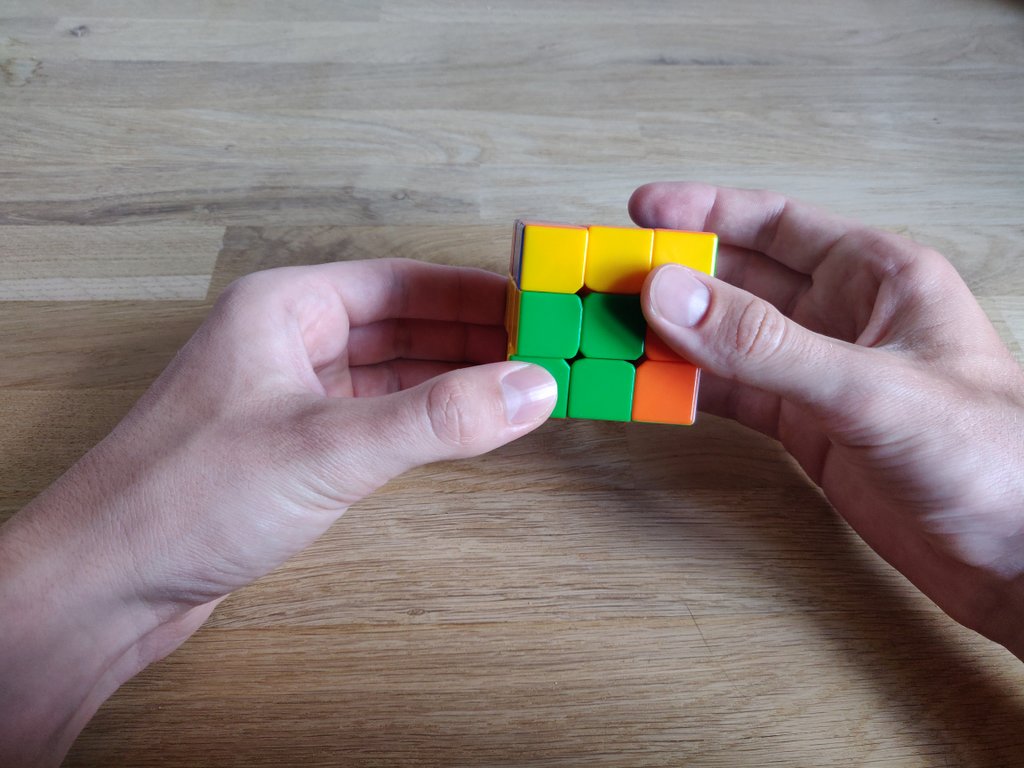
This is how the yellow layer should look:
Rotate the Rubik’s Cube, so that you are now looking at the red center piece.
This is the finished red layer.
Rotate the cube one last time, you should now see the white center piece.
Rotate the right layer down towards you – that’s it!
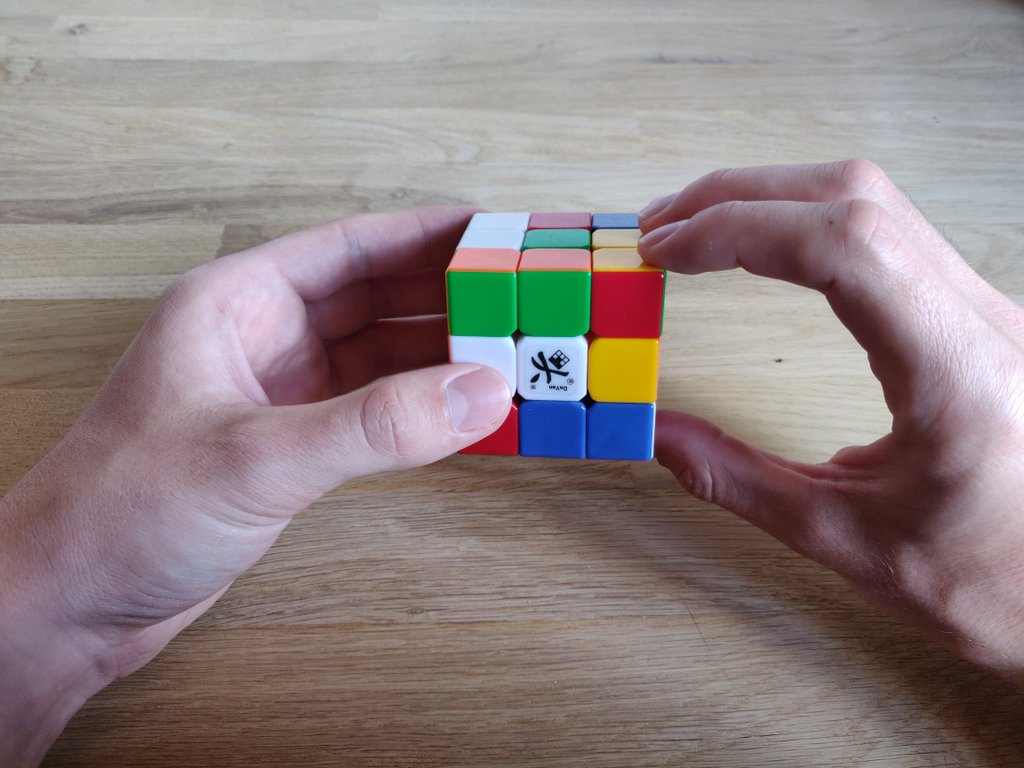
If everything worked out, you should now have the same pattern on your cube. To check it, look for the green center and control all the surrounding pieces.

If your cube looks exactly like in the image above, you can continue. If not, start over again, the trick only works if every piece is in the right spot!
After you’ve scrambled the Rubik’s Cube, you can learn how to solve it – don’t worry, it’s pretty easy once you’ve done it a few times.
Solving the Rubik’s Cube in a few seconds: The moves
Obviously, you don’t have to actually solve the cube now. You can just “undo” the previous steps and it will be solved after only six moves.
It will take quite some time until you can do all of this in just a few seconds, but just keep practicing, you will get there eventually.
How to solve the Rubik’s Cube
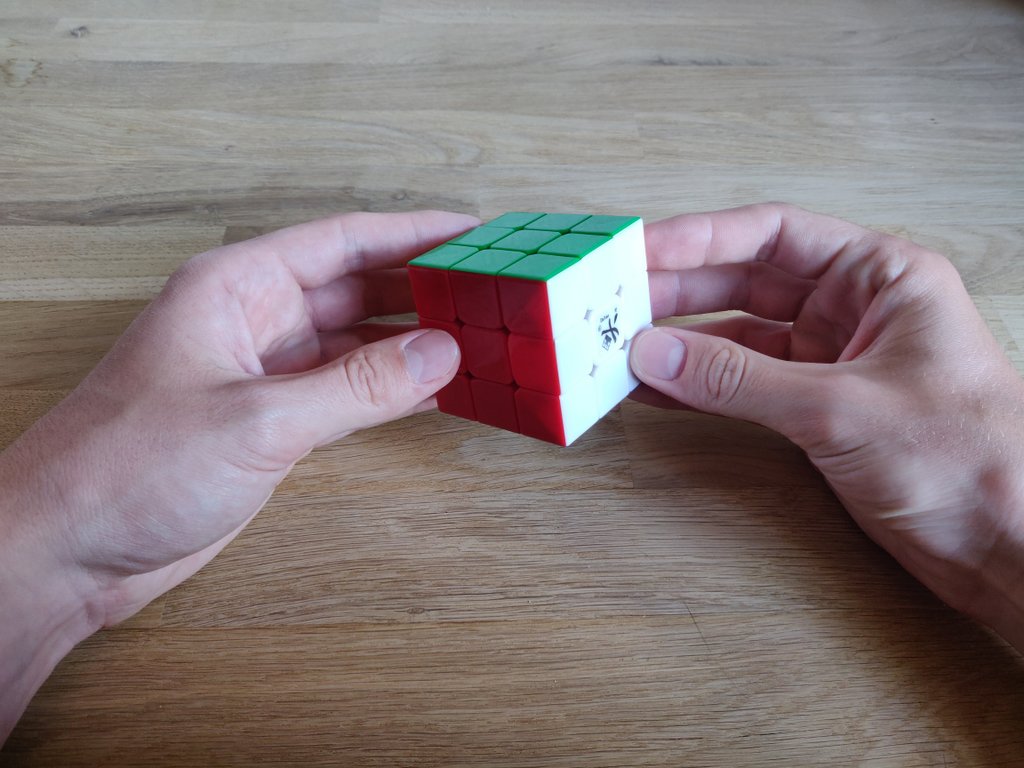
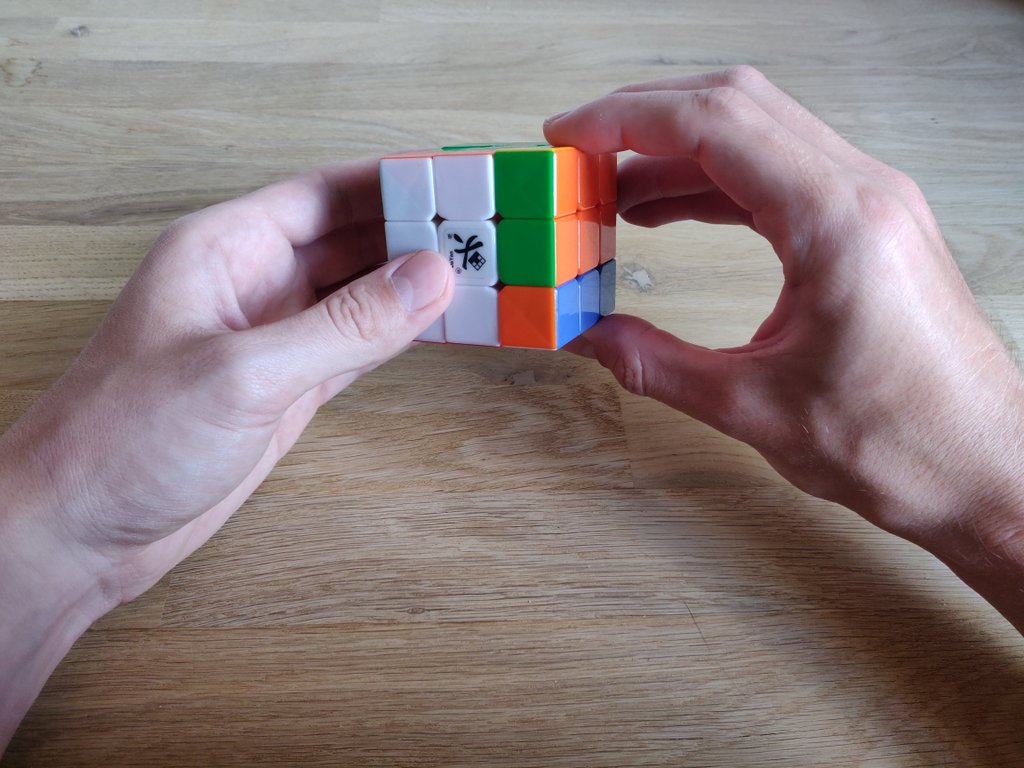
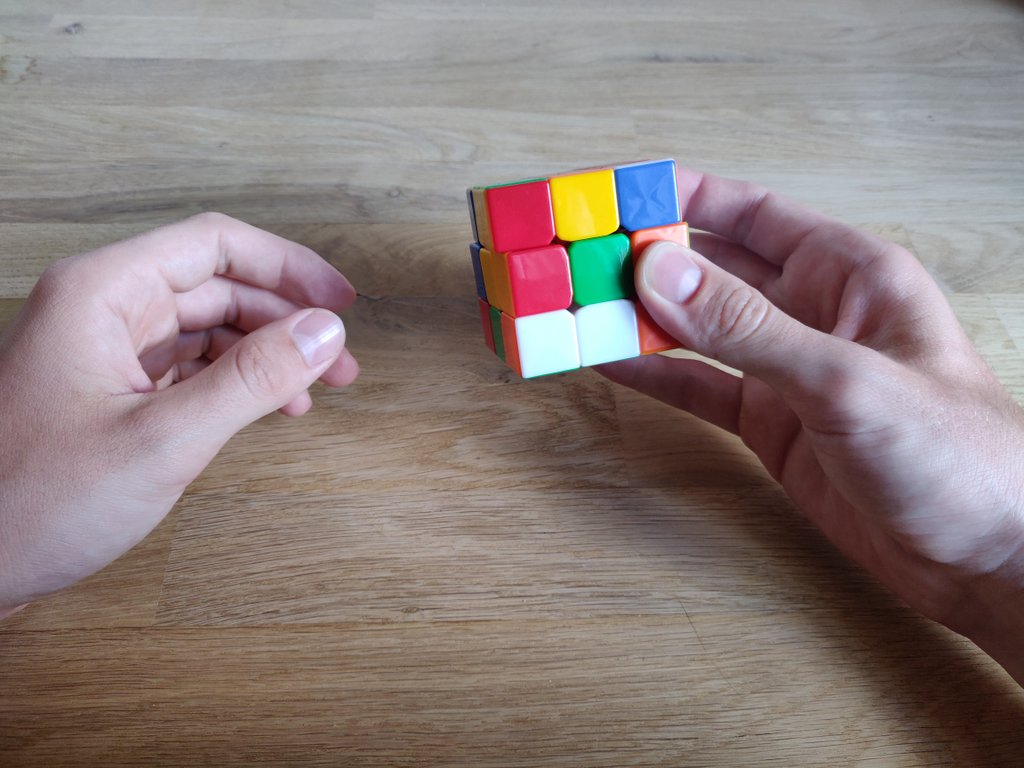
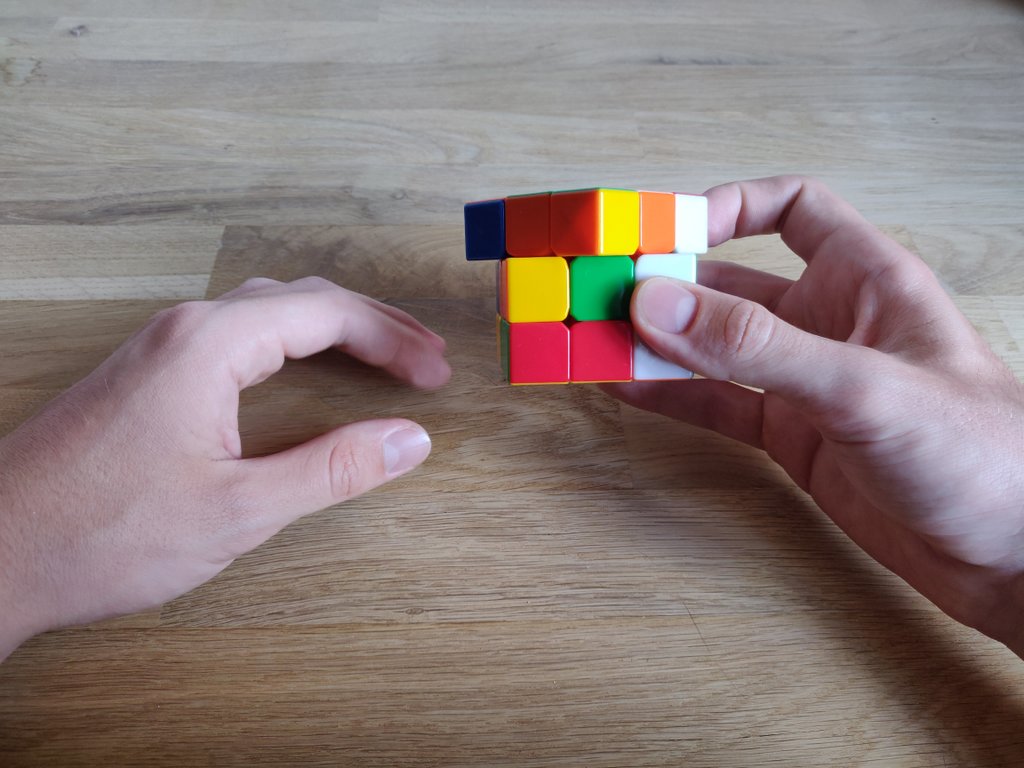
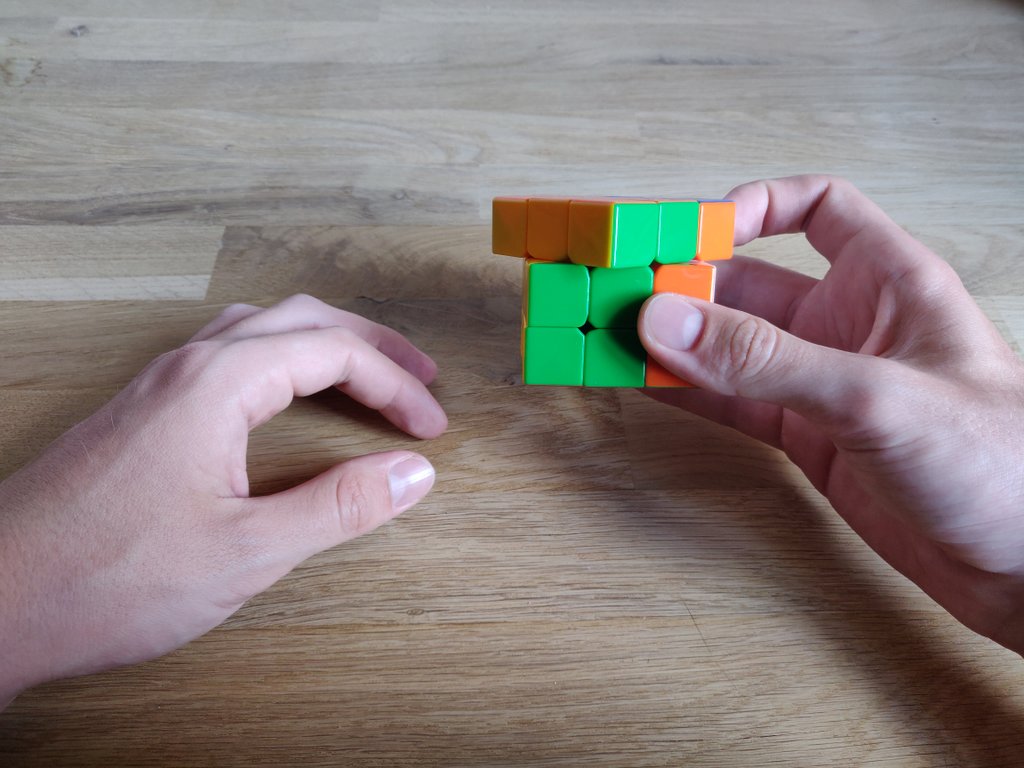
Hold the cube with your right hand, the side with the green center is facing you. The blue corner of the cube is at the top left, this is the layer you will turn first.
By the way, you always want to start with the same position. The green center is facing you, the blue corner is at the top left, and you hold the cube with your right hand. Your thumb is at the bottom of the Rubik’s Cube, your index finger is holding the top layer like shown in the first image.
If you don’t start from this exact position, the cube will get messed up!
You don’t need the left hand for solving this pattern.
Hold the cube in this position:
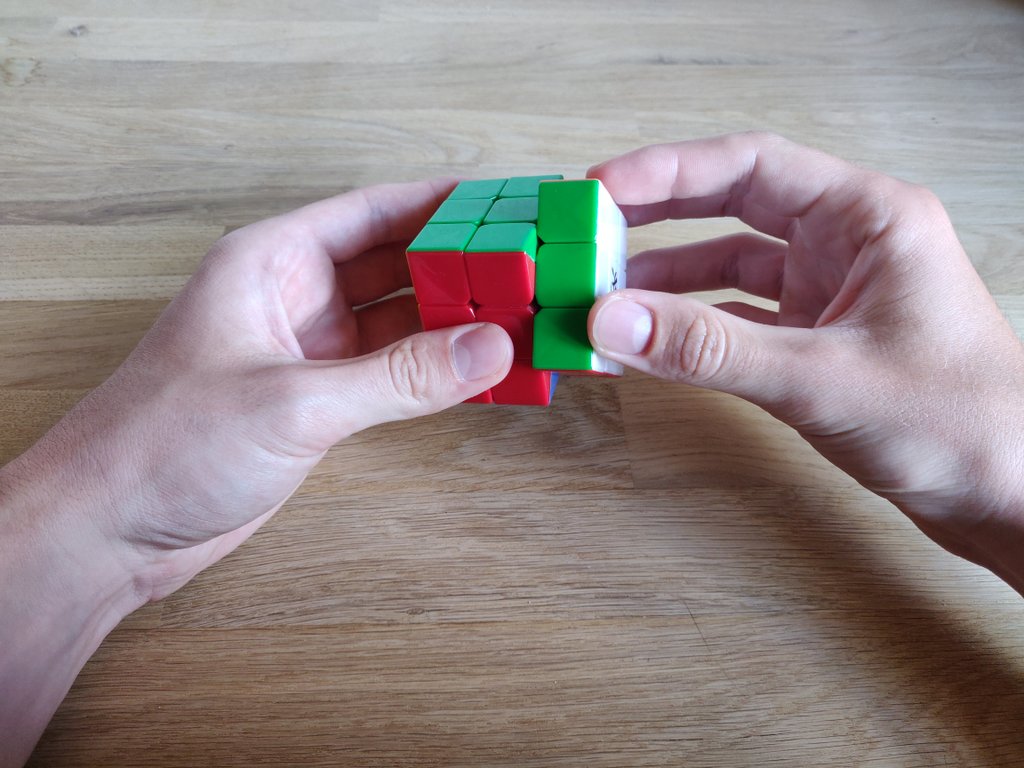
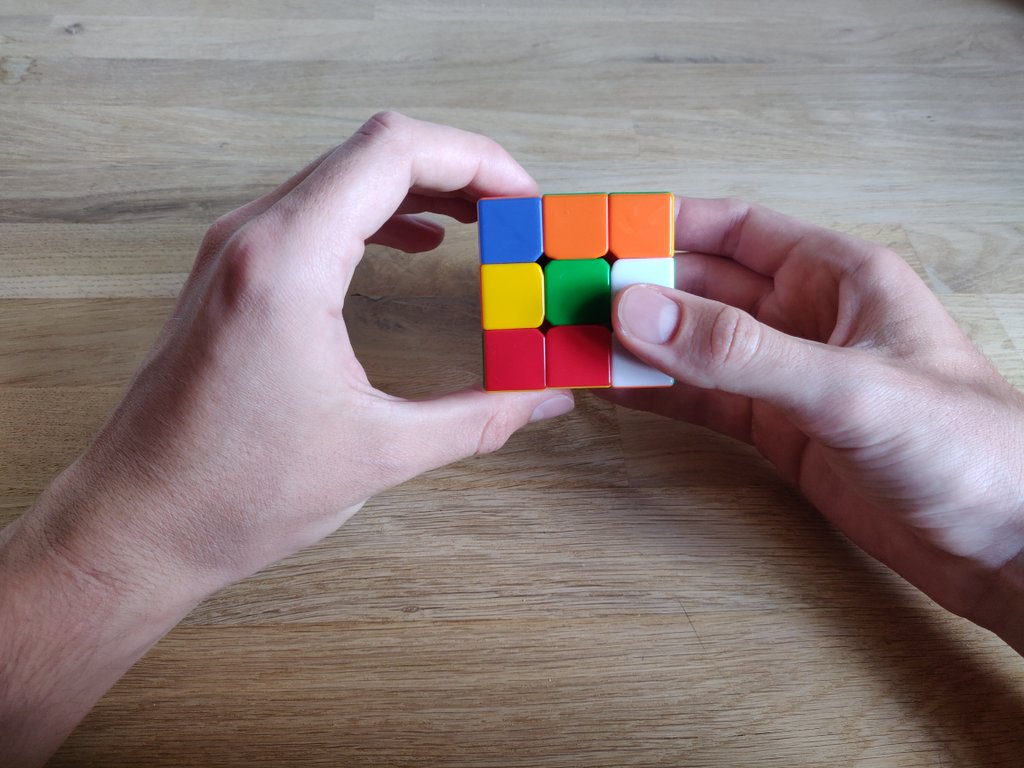
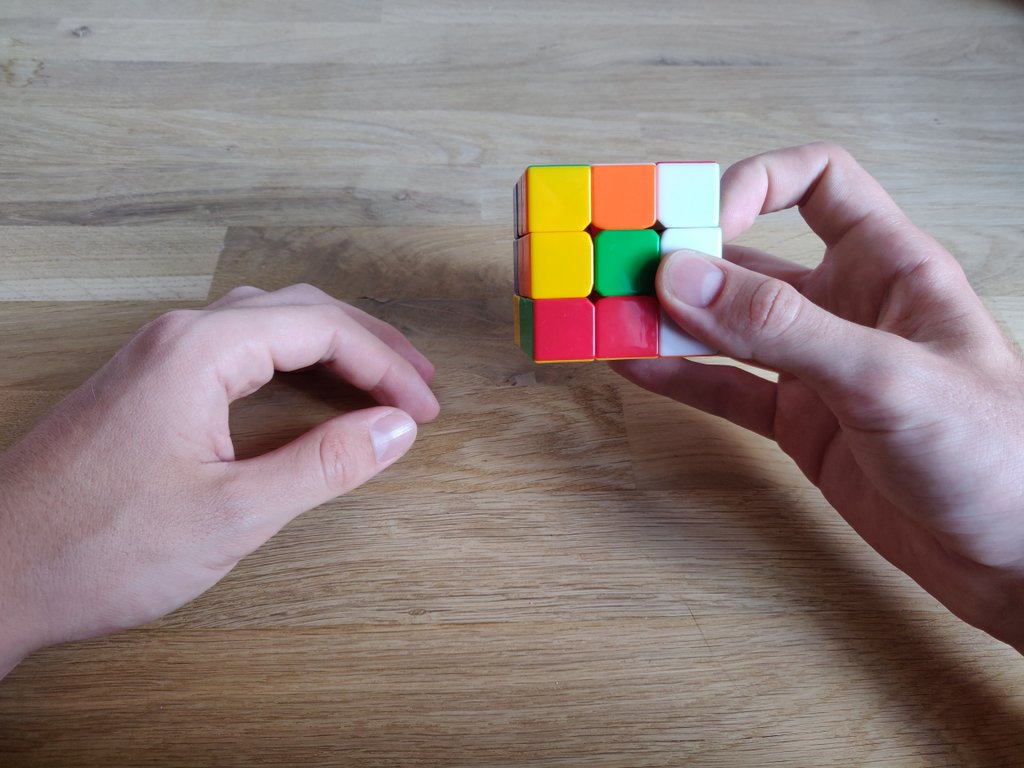
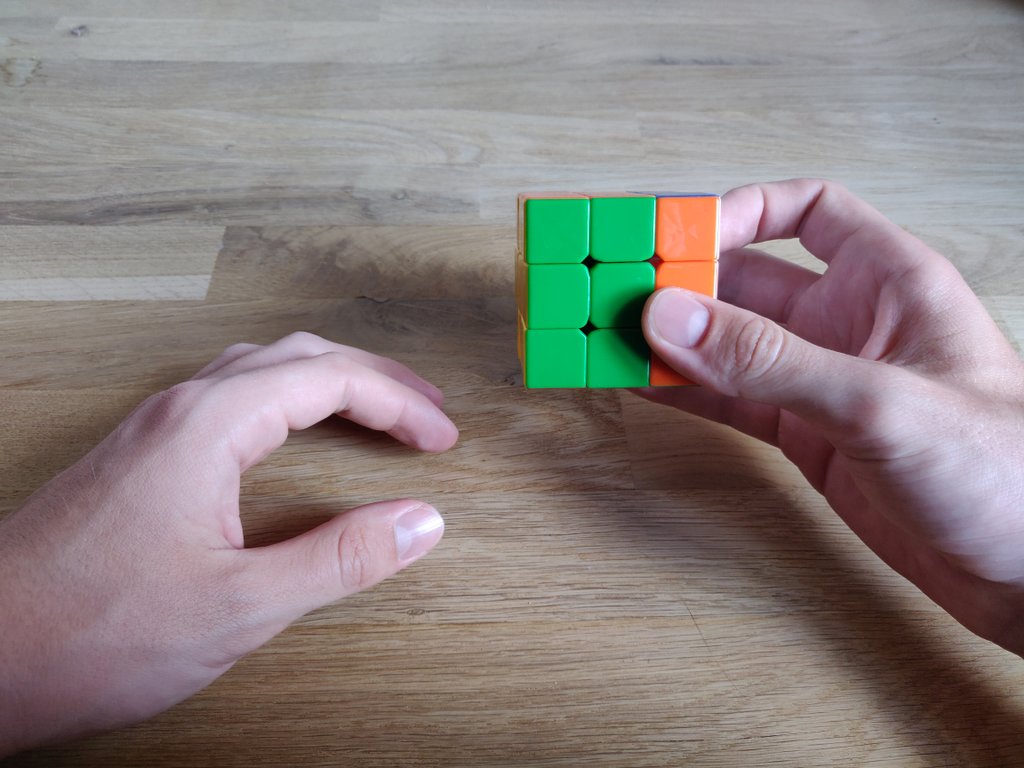
Now, use your index finger to turn the top layer to the left (clockwise).
This is how the Rubik’s Cube should look after the first move:
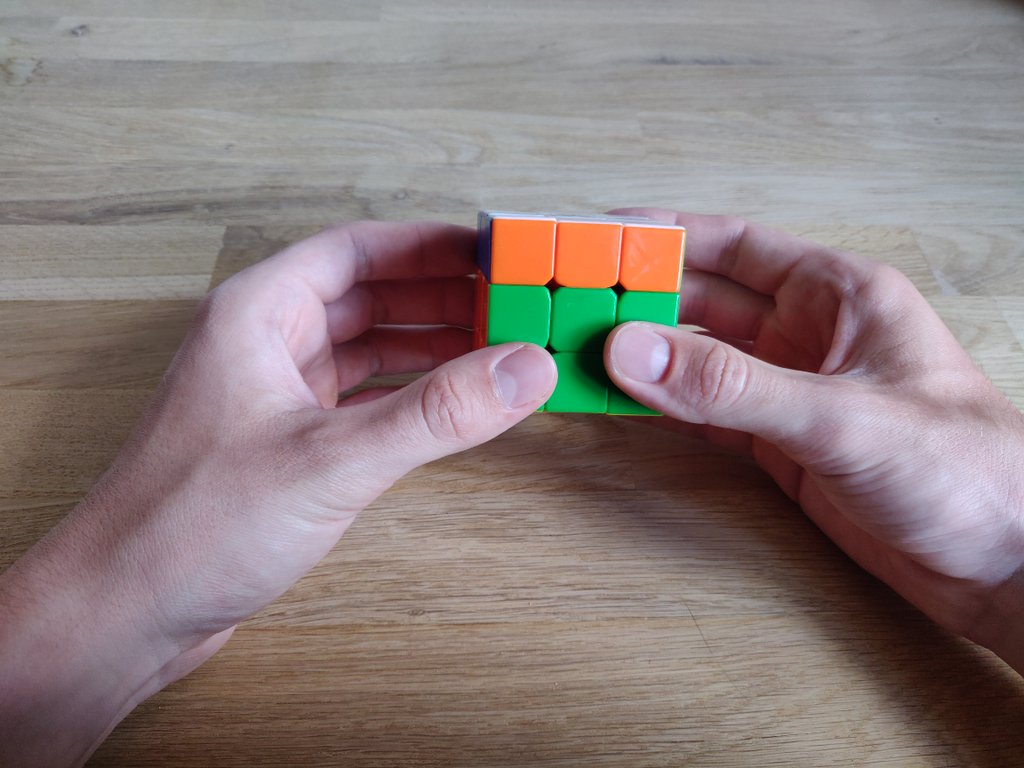
Next, turn the entire cube to the left (counterclockwise) like shown.
Repeat these exact moves five more times until the cube is solved. I’ve taken a photo of every single move so you can follow along.
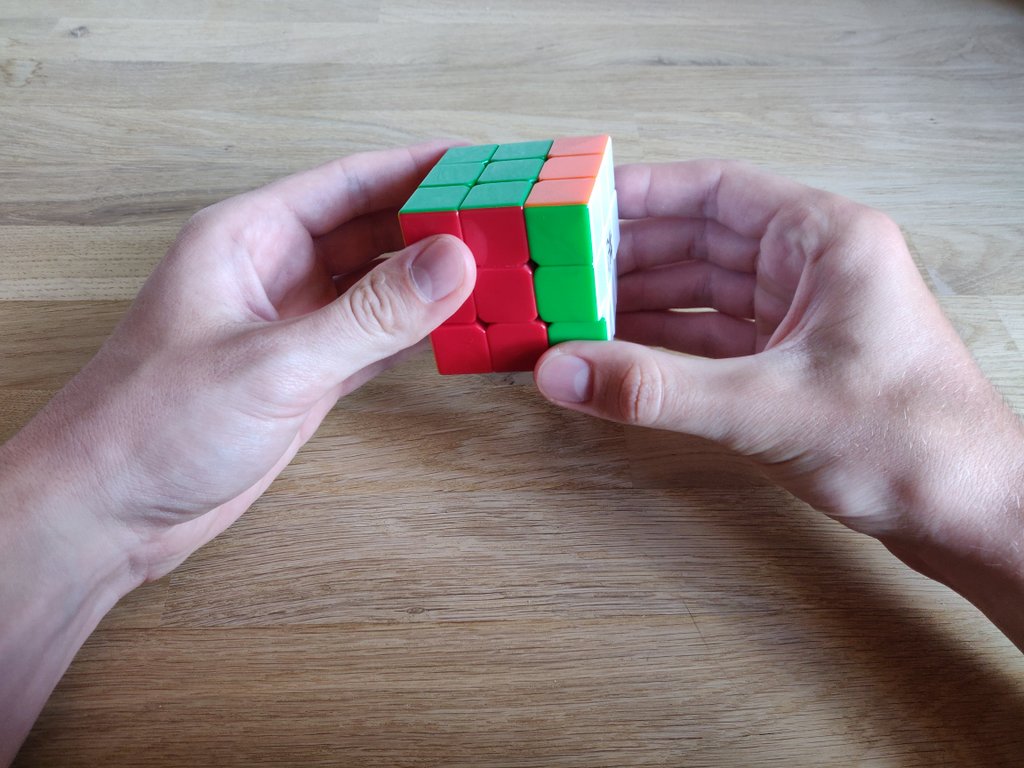
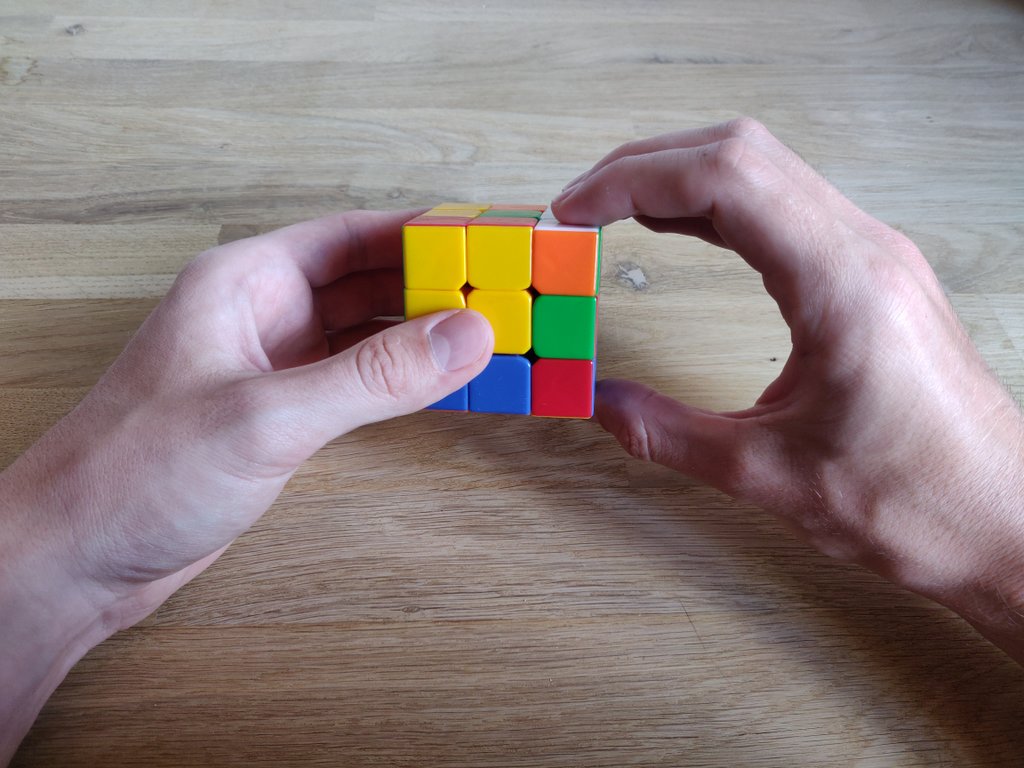
Turn the top layer clockwise again, using your index finger as shown in the image.
It should look like this now:
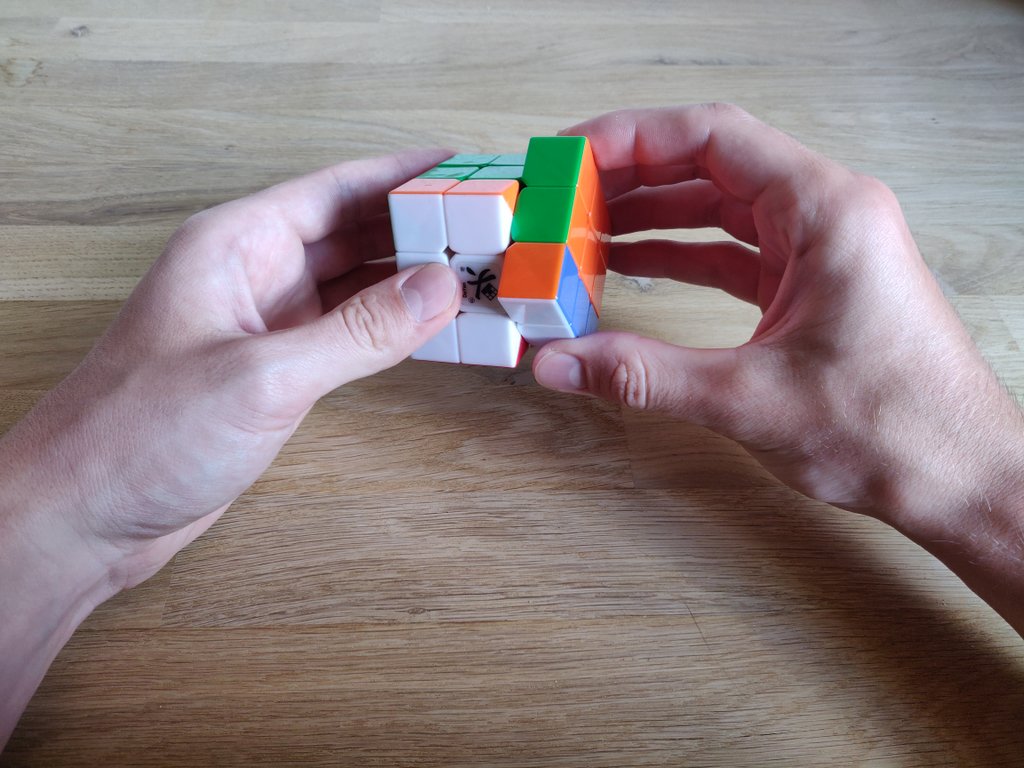
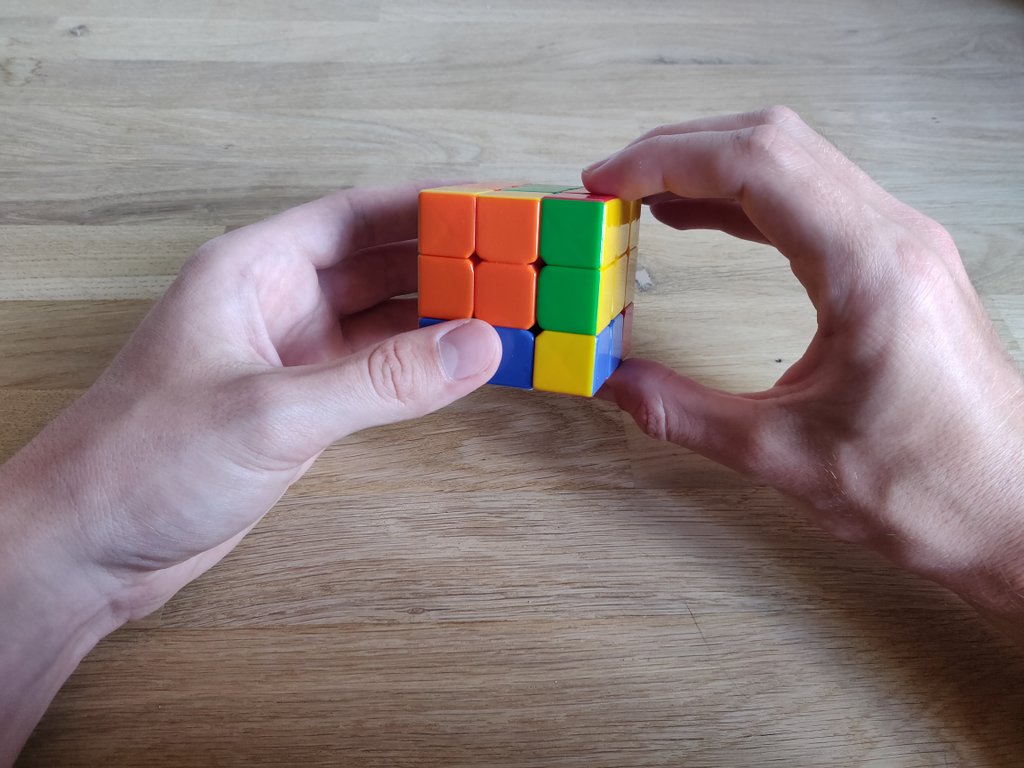
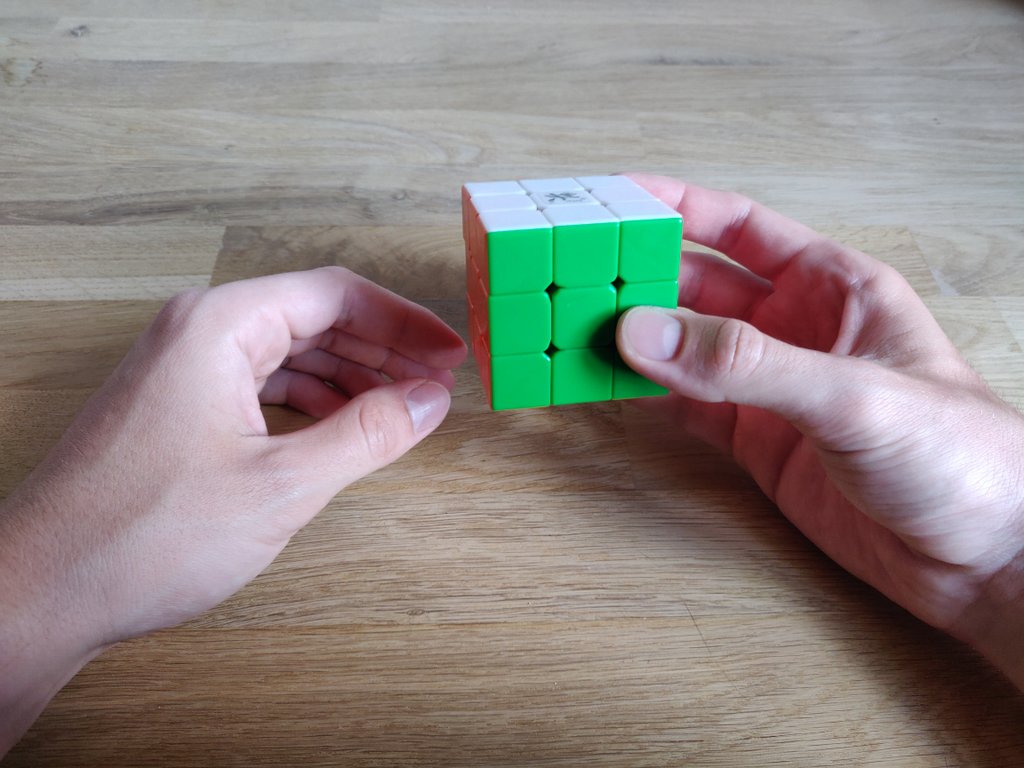
Rotate the entire Rubik’s Cube counterclockwise, you should now have three white pieces at the top of the cube.
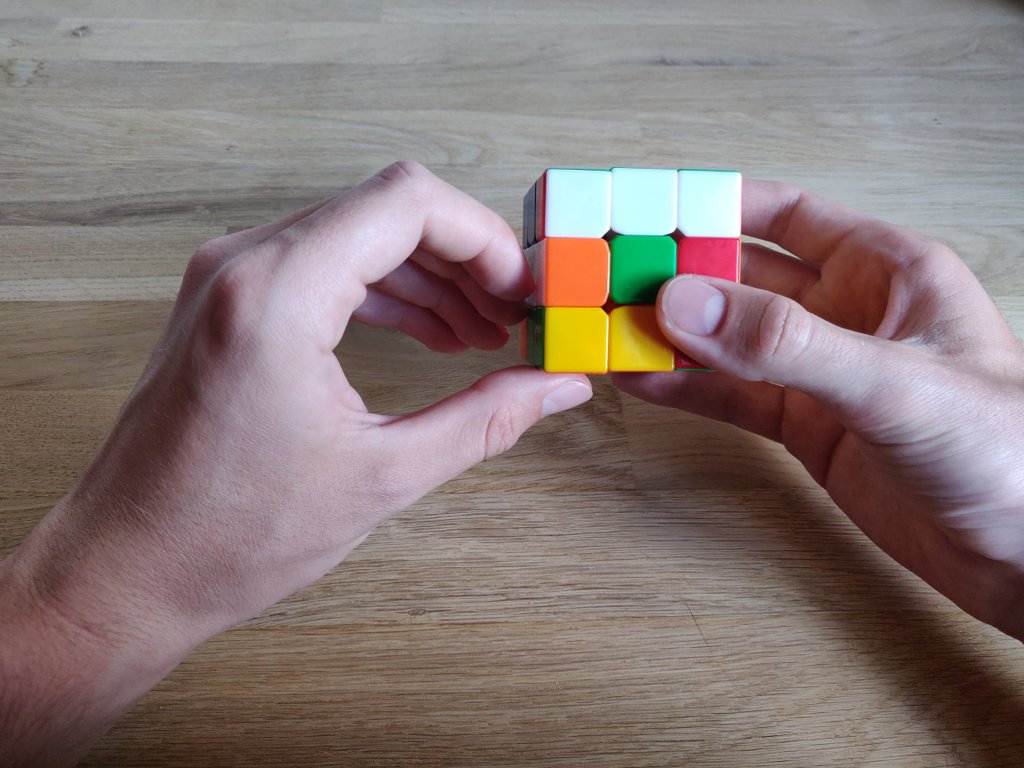
Turn the top layer counterclockwise again.
This is how the cube looks now:
Rotate the entire cube again.

Turn the top layer.
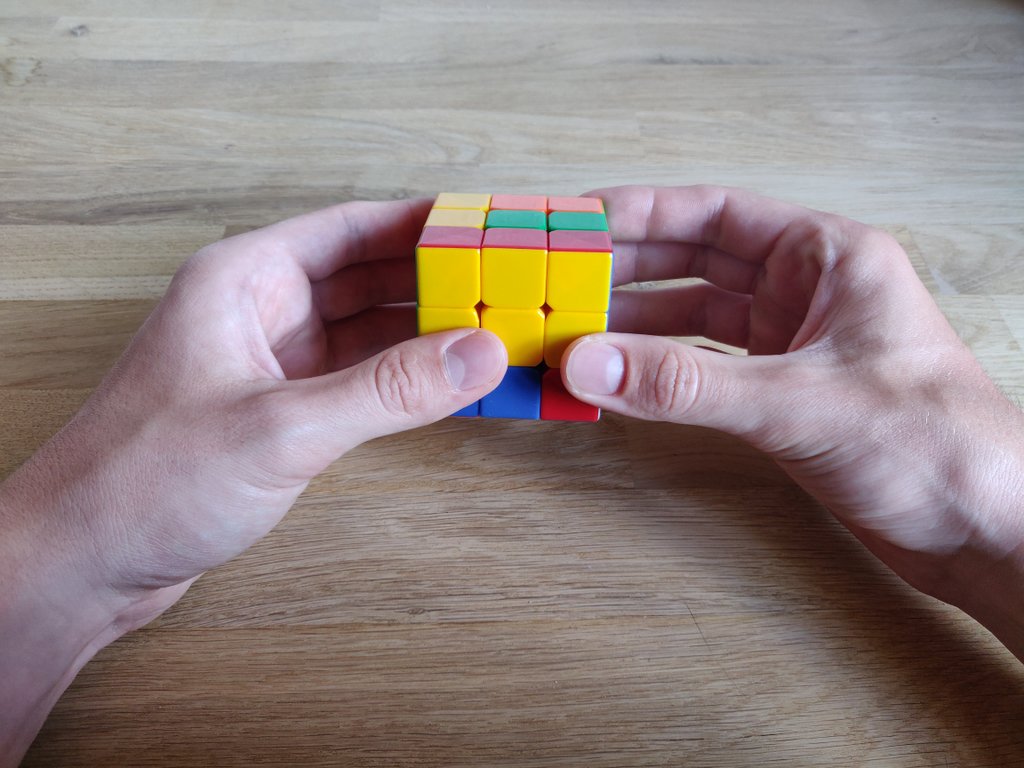
Check if everything is still correct:
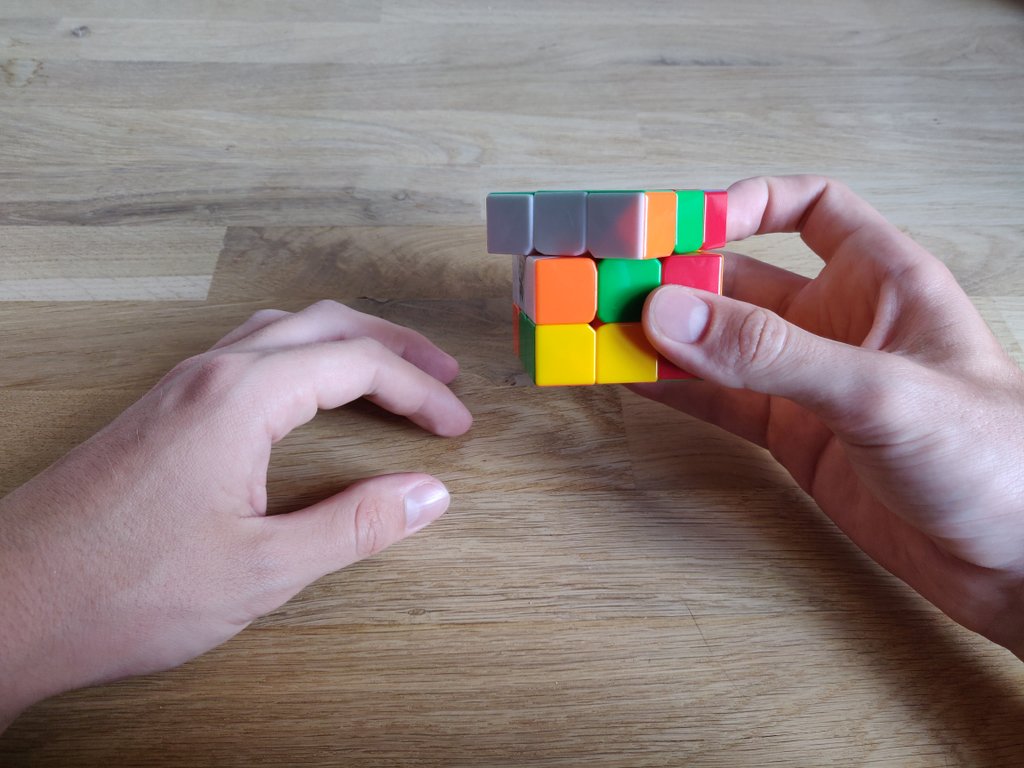
Turn the cube again, there should now be three yellow pieces at the top.
Rotate the top layer.
You’re almost there!
This is the last required turn:
The cube should now be solved!
While this might seem very confusing and it might not work the first time you try it, you can do all of these moves very fast.
It does require some practice, but once you know what you are doing, it won’t take you longer than a few seconds. You might want to practice solving the cube with your eyes closed as well, so you can perform this trick blindfolded or behind your back.
How to perform the trick
Well, you know how to do the moves after this tutorial, but performing this trick is a lot more than just doing a few turns with a cube. Make sure to practice enough before you actually show it to someone!
The most important part is to hide the moves while solving the cube. Most people will spot that you simply repeat the same thing over and over again. So here a few tips for your performance:
Always keep the cube in motion
The easiest way to cover your hand movements is to simply always keep the cube in motion. For instance, you can shake your hand while solving the cube, which adds a nice little effect as well.
Practice this by filming yourself or checking your movements in a mirror.
Cover the cube while solving it
This method is a little easier, but can be just as impressive for your viewers. You can hide the cube behind your back for a few seconds, solve it, and then show it to everyone.
You can cover your hands with a cloth, a blanket or a towel as well. Tell your audience that you are able to solve this cube without even looking at it, in case they want to know why you cover up your hands. You can use a paper bag as well – anything works, as long as your movements are covered.
Practice enough and have fun with this little magic trick!
Image sources:
All of the images are my own photos, click here if you want to use them.